We are using a custom-made tool called the Patchwork Knitout Editor (<- click me!) to visualise the knitout code we are writing. It is based on a tool made by Gabrielle Ohlson and Jim McCann at Carnegie Mellon University, called the knitout visualiser. Patchwork has a number of quite interesting features which we won’t explore here – this file is just to get you set up.
Be cautious: Patchwork is experimental software! Sharing a link to a file gives someone full edit access to that file, so only share things with people you trust! Don’t use this software to store personal details like passwords, bank accounts or any sensitive documents.
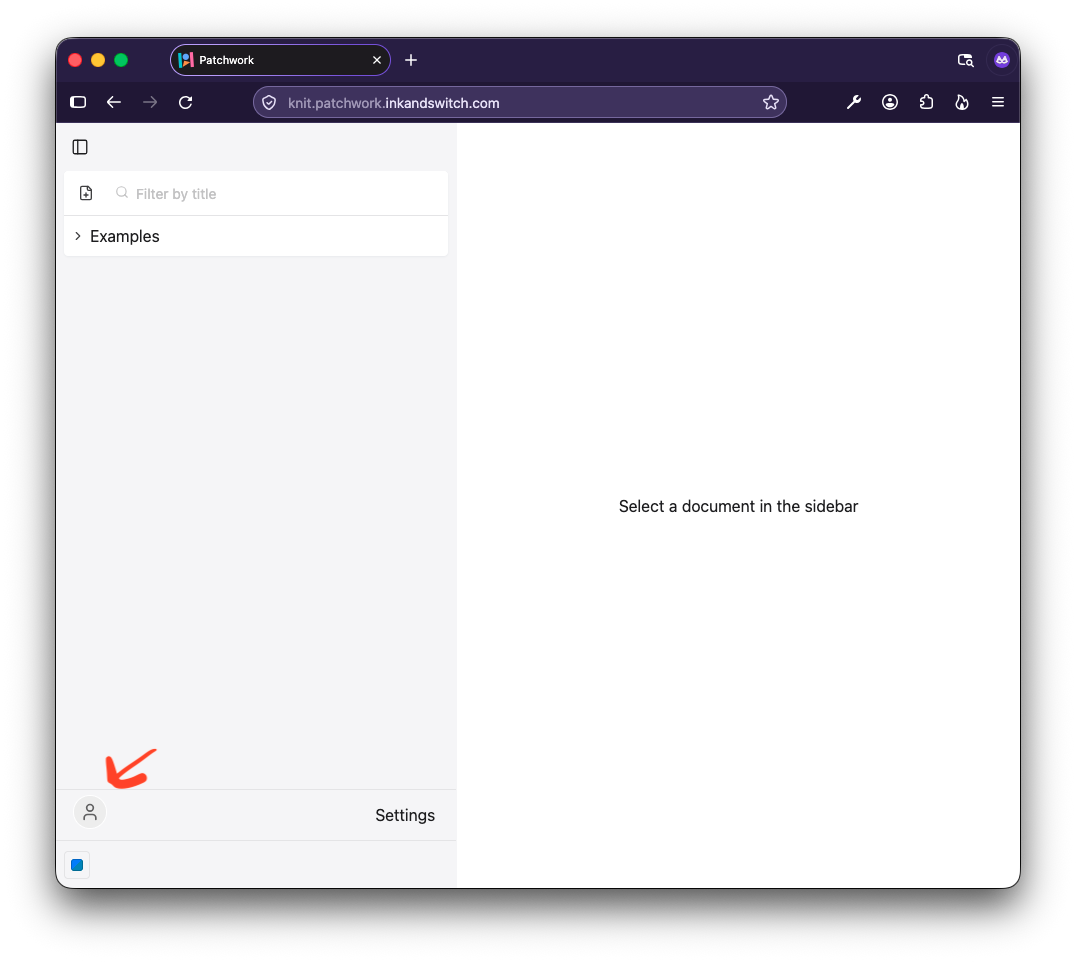 making a new account in Patchwork
1. Making an Account
When you open Patchwork for the first time, you should see a screen that looks like this: some example files in a sidebar, and a little icon in the bottom left corner that looks like a person, indicated here with a red arrow. You don’t need to make an account to use Patchwork, but it’s helpful for saving and keeping track of your files.
Clicking the figure will take you to a login interface – type the username you want, then save the ‘account token’ somewhere safe on your computer when prompted to. This token means that you will still be able to access your files even if you’re on another computer, or on a different browser.
2. Navigating the Interface
To open up the KnitoutJS Editor, try clicking on the file named ‘knitoutjs example’ in the examples folder in the sidebar. This will open up an interface with 3 panes. If it’s your first time opening this, there might also be two sidebars open, showing the files on one side and comments on another. If you want to close these, you can click the ‘sidebar’ icons in the top left and right corners of the interface.
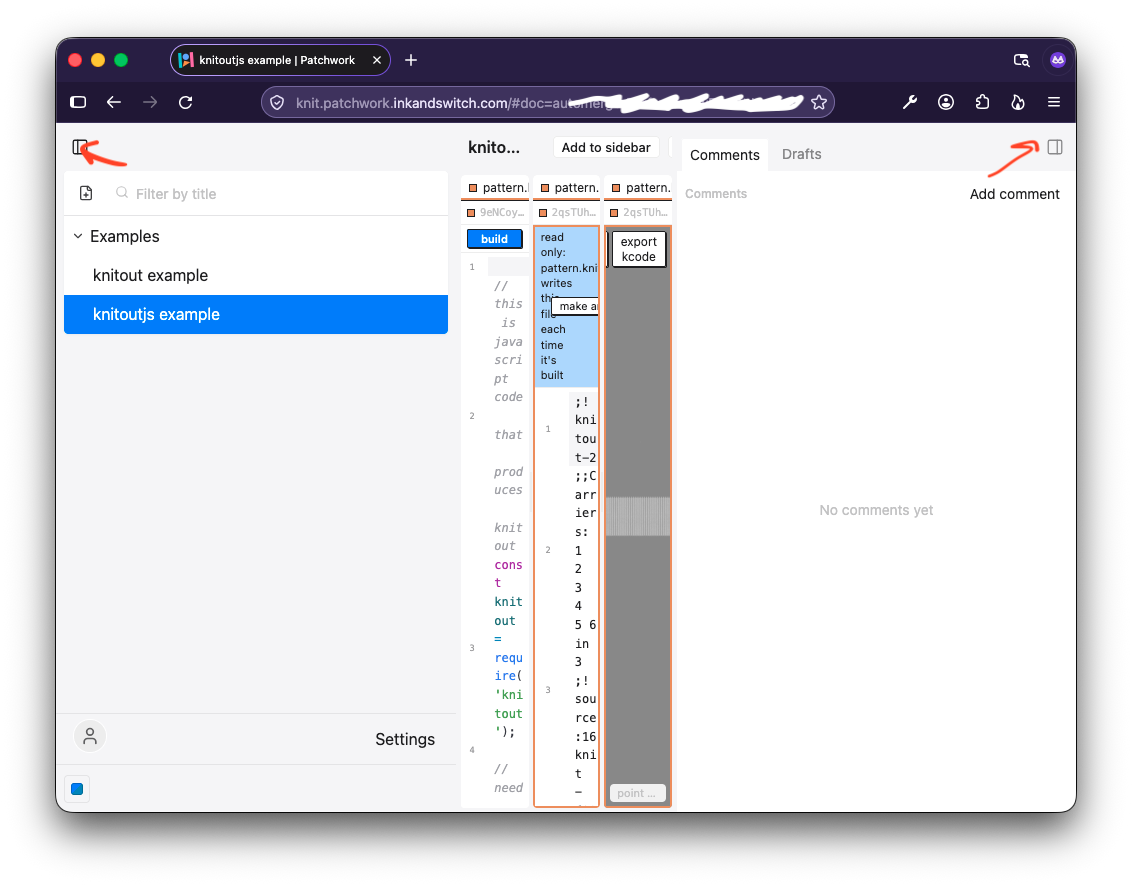 knitout editor with sidebars open
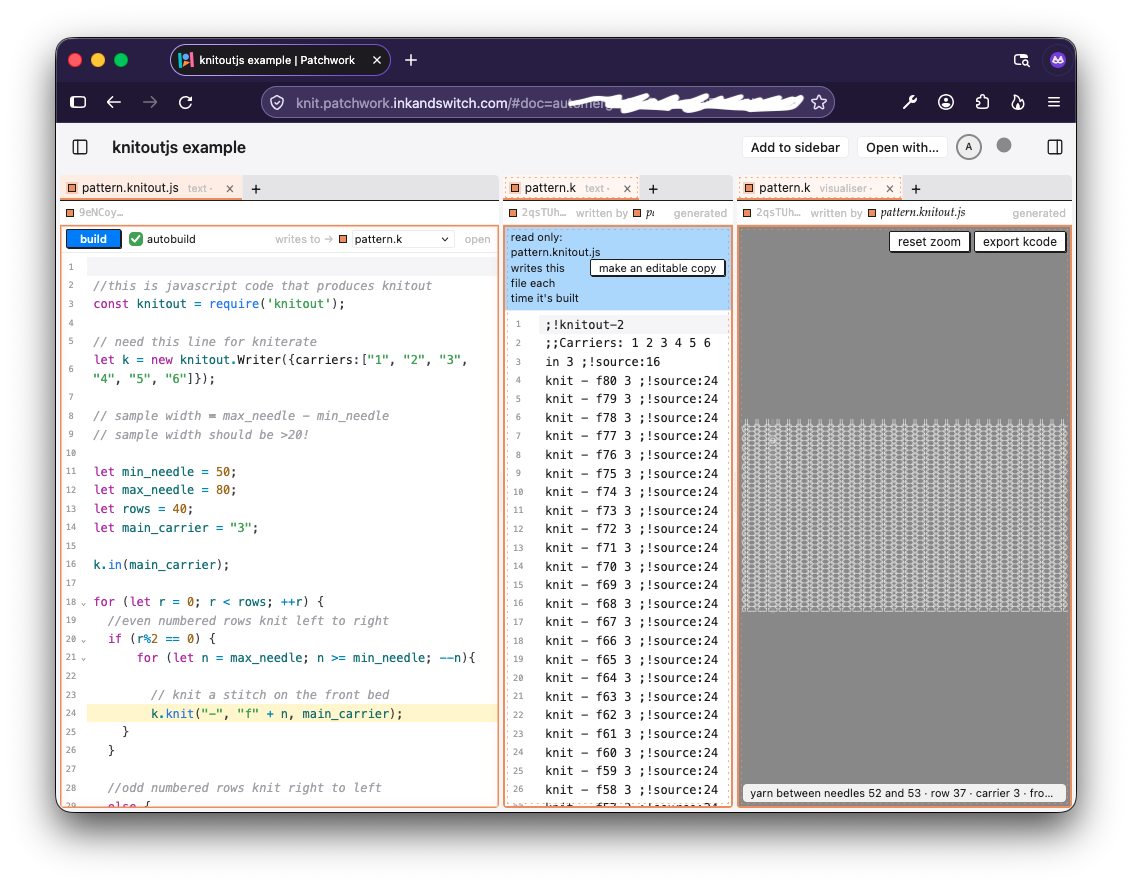 knitout editor with sidebars closed
The Kniterate editor shows the contents of two different files across three different panes. The left-most pane shows a KnitoutJS file. This is code written in the Javascript programming language, that uses some extra tools from a library called KnitoutJS to generate Knitout.
Knitout is a programming language for industrial knitting machines. It is very simple, and writes instructions for the machine one line at a time. It can take many many lines of knitout to get the machine to do anything, so we often write knitoutJS instead of knitout directly.
The second two panes are the same knitout file, visualised in two different ways. The middle pane shows the file as text, and the end pane shows the same file, but viewed through a visualiser that gives you a guide to how the file will be knit on the machine. In practice, the visualiser is normally more helpful, but it’s also important to be able to read the knitout for debugging.
You can switch between the two representations at the top of each of these panes (and close the ones you’re not looking at).
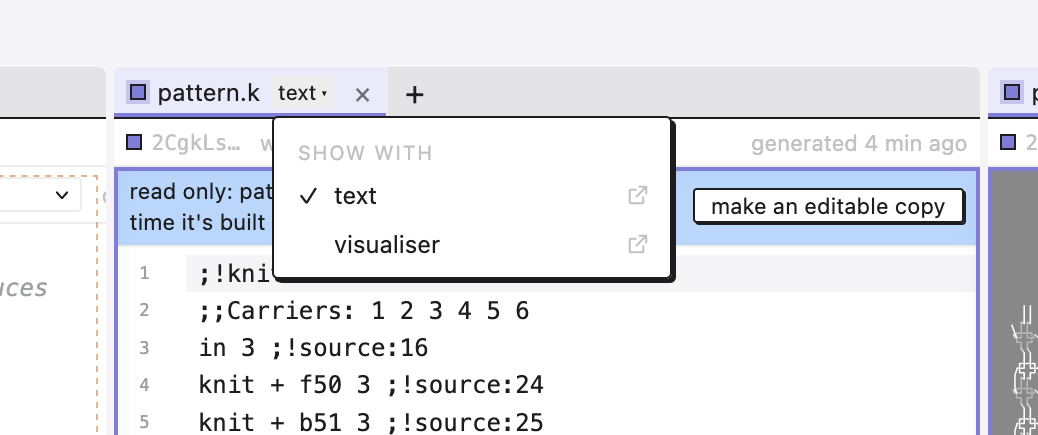
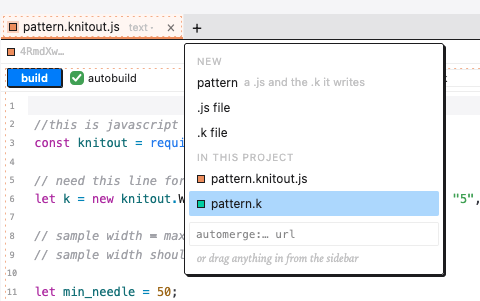
If you’ve closed a pane and you want to reopen it, hit the ‘+’ button: this will bring up a list of files associated with that project (by default, this will include one Knitout file ending in .k, and one Knitoutjs file ending in .js). You can drag and drop newly opened tabs to place them in different parts of the editor.
3. Making and Testing a New Knitout File
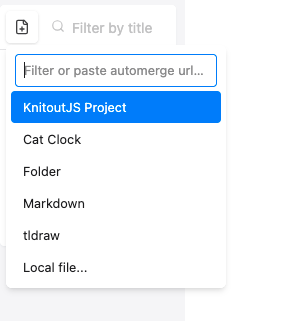 creating a new file in the top-level menu
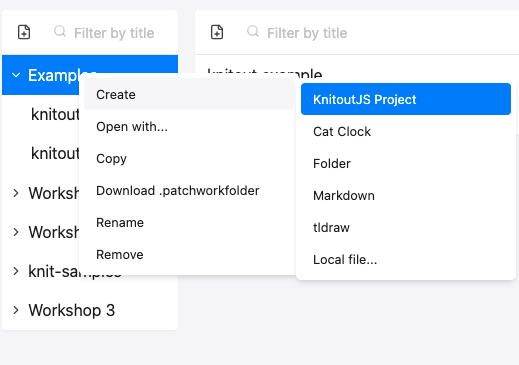 creating a new file inside an existing folder
You can create new files in the left hand sidebar, either by clicking the document containing the “+” symbol at the top, or by right clicking on a folder and selecting “create” from the menu. In both cases, to make a new knitting file, select “KnitoutJS Editor” from the menu.
This will open up a file that already contains some code, which generates a square of plain jersey, knit on the front bed. You can either edit the existing file, or delete its contents and start from scratch.
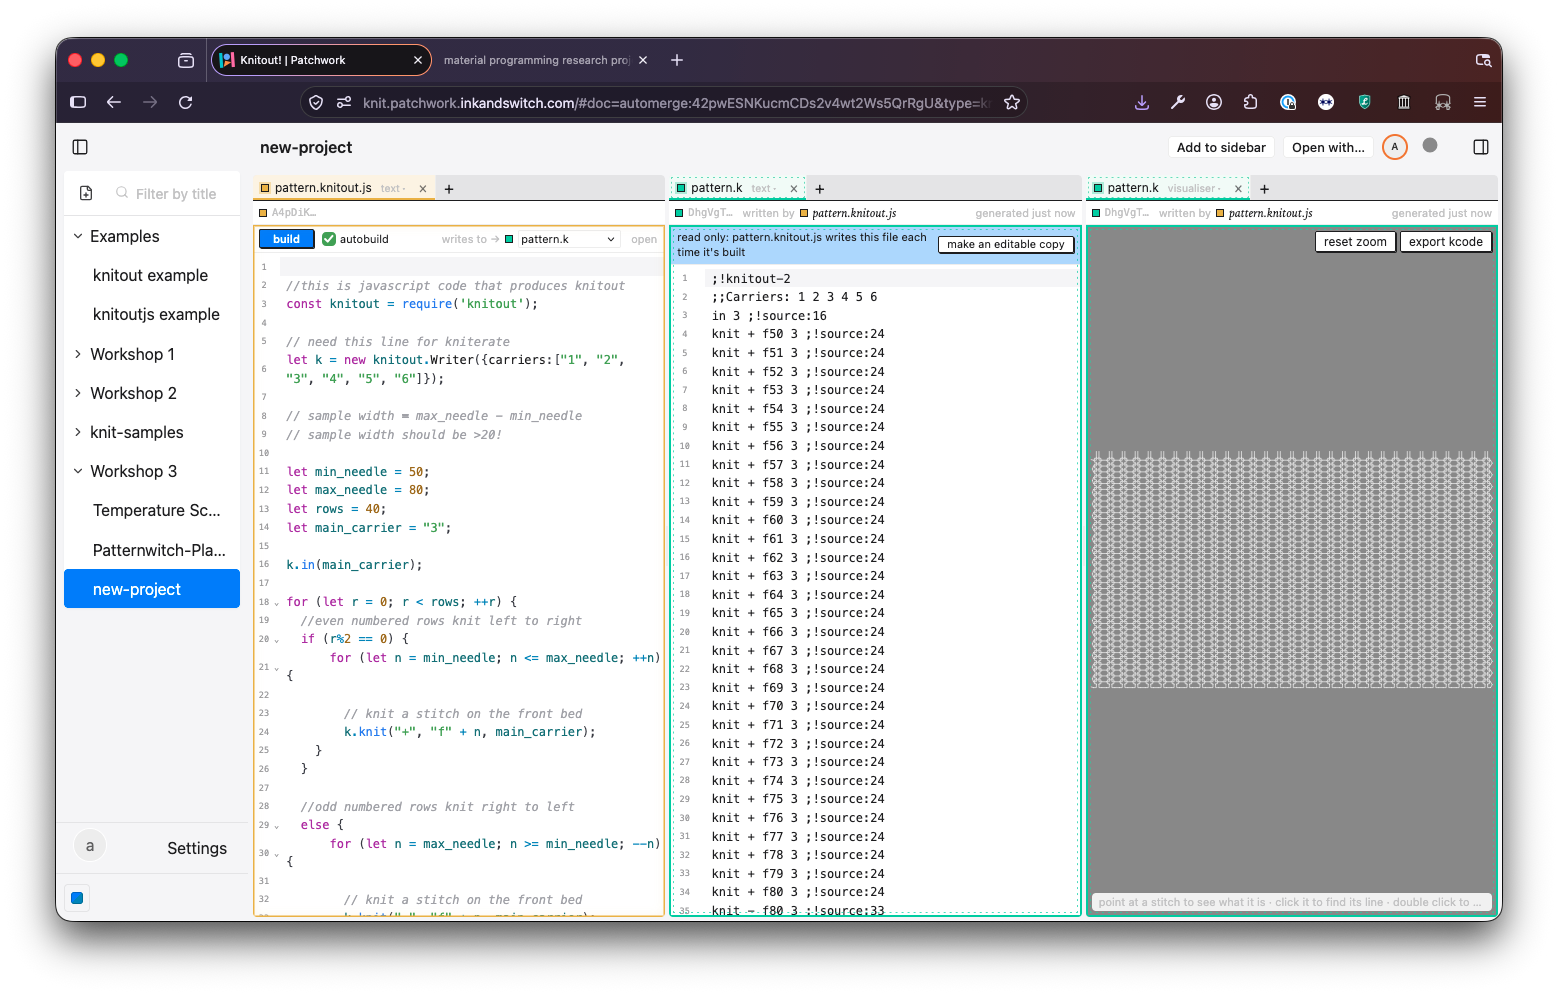
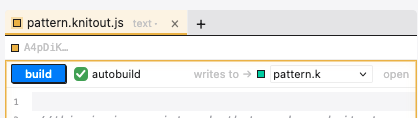
By default, the interface is set to ‘autobuild’, which automatically tries to run the KnitoutJS code in the left pane and use it to generate the knitout seen on the right. This can provide some nice instant feedback, but it can also be turned off if desired as it can be distracting if you’re making a lot of changes to the file. In this instance, the knitout is generated only when the ‘build’ button is pressed.
4. Solving Errors
When writing code, it’s very common to encounter errors: normally, almost all of the work of programming is not in writing the code itself, but in fixing issues that are encountered as part of that process.
In the Knitout editor, when there is a mistake in the code that prevents knitout from being generated, this will be indicated to you in a few ways. First, the knitout panes will be pink-coloured, and will show whatever the most recent valid version of the knitout code was.
All the panes will have a small piece of text at the top that tells you which line the error is on. Like many programming errors, sometimes, the actual problem is a bit further up, but the computer only ‘realises’ the issue when it gets to a certain line.
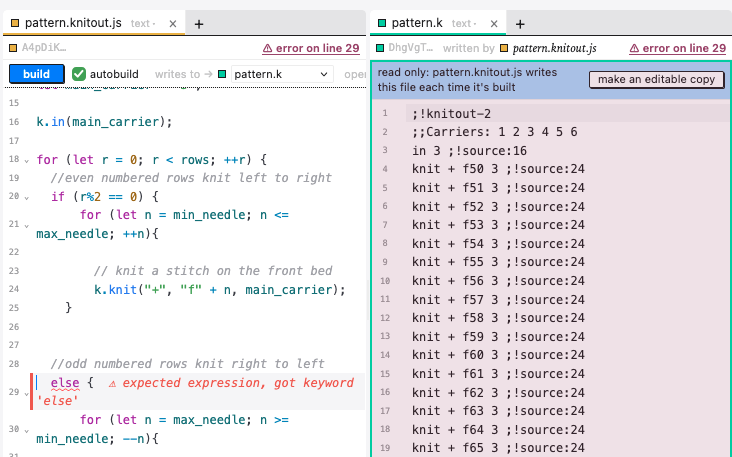
In this instance, we are missing a closing bracket on the first part of our ‘if’ statement, and the line that causes us a problem is when we get to the ‘else’ line. The error message doesn’t exactly tell us this: it says expected expression, got keyword 'else' – essentially, the computer saw something it wasn’t expecting, because it needed to see a closing } before moving on. If I add this bracket back in on line 26, the code starts working again as before.
5. Installing Lattice
Lattice is an add-on package for the Patchwork Knit Editor that changes the appearence of the interface, and gives you some extra features like the 3D visualiser. You can also make calls inside the Lattice editor, which makes it a lot easier to collaborate on documents.